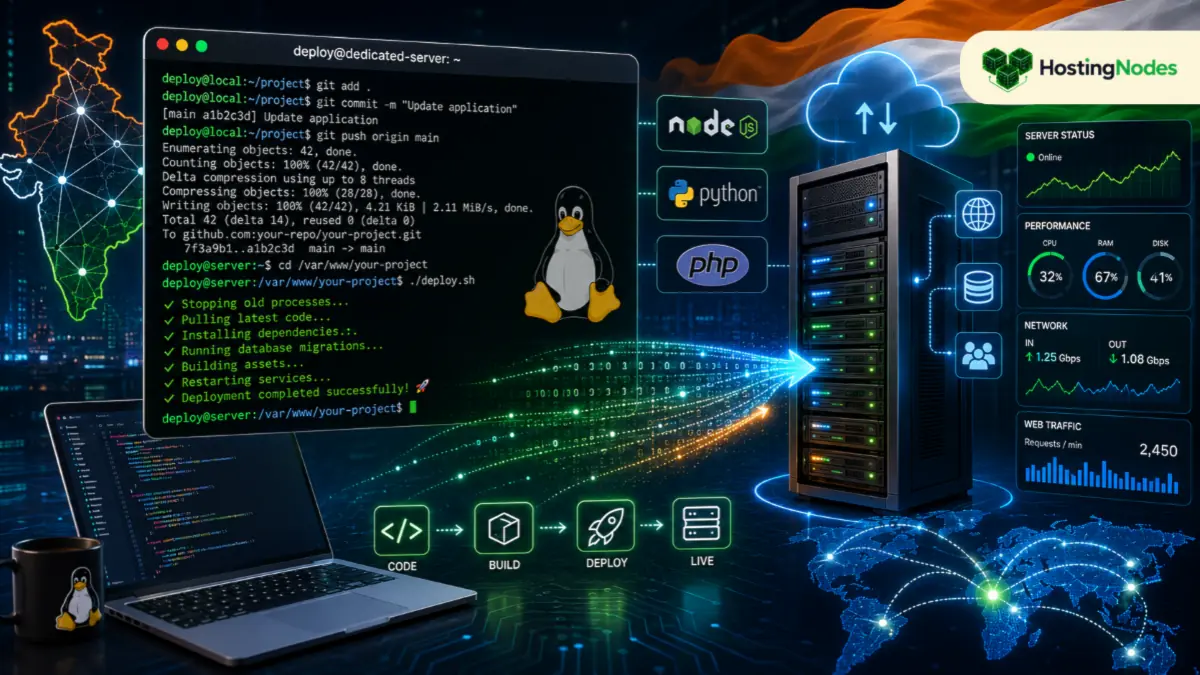
I remember the first time I had to deploy an application on a dedicated Linux server. I had this folder full of code on my laptop, no clue what I was doing, and I basically just FTP’d everything up there and prayed it would work. Spoiler: it didn’t. The site crashed within minutes because I didn’t know the difference between a dev environment and production. That was a painful but necessary lesson.
If you’re here because you just got your first dedicated Linux server and you’re staring at a blank terminal wondering what to do next, don’t worry. I’m going to walk you through this in a way that actually makes sense, not like those tutorials that assume you already know everything.
Before You Even Touch the Server
Here’s what nobody tells you: the deployment is usually not the hard part. Getting ready for deployment is. So let me start there.
First, get your code ready. Your application shouldn’t have hardcoded database passwords or API keys lying around. I’ve seen junior developers deploy code with secrets right there in the config files. It’s a nightmare. Use environment variables or a proper secrets management system. Trust me on this.
Second, know what your app needs. Is it a Node.js app? Python? PHP? Does it need a database? Redis? External services? Write this down. I usually just throw everything into a text file because I’ll definitely forget which version of Node.js I tested with.
Third, test it locally first. I know this sounds obvious, but you’d be shocked how many people try to debug production deployments. Test everything on your laptop or local dev server first. Get it working there, then move to the dedicated server.
Setting Up Your Linux Server - The Basics
When you first get access to your dedicated server, it’s going to be pretty bare-bones. You’ll get SSH access and basically nothing else. That’s actually good—you have total control.
Step 1: SSH Into Your Server
Open your terminal and run:
ssh root@your_server_ip_address
You’ll probably be prompted for a password or you might have an SSH key set up. If you’re lost on SSH keys, just think of it as a really secure way to log in that’s better than passwords.
Once you’re in, you’ll see a prompt. Congratulations, you’re now in your server.
Step 2: Update Everything
The first thing—and I mean the first thing—is to update your system packages. The hosting provider might have released the server a few weeks ago, and there are probably security patches waiting.
apt update
apt upgrade -y
This might take a few minutes. Let it run. Yes, wait for it. No, you don’t need to interrupt it.
Step 3: Create a Non-Root User (Important)
You could deploy everything as root, but that’s genuinely dangerous. If your application gets compromised, the attacker has root access to your entire server. Create a regular user instead.
adduser appuser
Follow the prompts. Then give this user permission to do admin stuff when needed:
usermod -aG sudo appuser
From now on, log in as appuser, not root. Trust me on this.
Install Your Application Stack
What you install depends on what you’re deploying. Let me walk through a couple common scenarios because they’re all basically the same process.
For Node.js Applications
First, install Node.js. Don’t just download it randomly—use a package manager. On Ubuntu:
curl -fsSL https://deb.nodesource.com/setup_20.x | sudo -E bash -
sudo apt-get install -y nodejs
(Replace 20.x with whatever version you need)
Then navigate to where you want your application code to live. I usually do /var/www/myapp or something similar:
sudo mkdir -p /var/www/myapp
cd /var/www/myapp
For Python Applications
Python usually comes pre-installed, but you’ll need pip and maybe a virtual environment:
sudo apt install python3-pip python3-venv -y
mkdir /var/www/myapp
cd /var/www/myapp
python3 -m venv venv
source venv/bin/activate
For PHP Applications
sudo apt install php-fpm nginx -y
The setup varies a bit depending on your framework, so check the docs if you’re lost.
Getting Your Code Onto the Server
This is where it gets real. You need to actually move your code from your laptop to the server.
Option 1: Git (My Preference)
If your code is on GitHub or GitLab, just clone it:
git clone https://github.com/yourusername/yourrepo.git
cd yourrepo
Then install dependencies. For Node.js, that’s npm install. For Python, pip install -r requirements.txt. For PHP, probably composer install.
Option 2: SCP (If you don’t use Git)
You can copy files directly from your laptop:
scp -r /path/to/your/app appuser@your_server_ip:/var/www/myapp
Run this from your laptop terminal, not the server terminal.
Option 3: FTP or SFTP
Honestly, I’d avoid this if you can. It’s slower and more error-prone. But if you need to, tools like Filezilla work fine.
Setting Up a Web Server
Your application needs a web server to actually, you know, serve the web.
For Node.js: You usually don’t need a separate web server—Node.js acts as one. But you might want Nginx as a reverse proxy (basically a traffic director). It’s optional but recommended.
For Python (Flask/Django): Same thing. Your app runs, but put Nginx in front of it.
For PHP: Use Nginx or Apache. Both work, but Nginx is lighter weight.
Here’s a super basic Nginx setup for Node.js:
sudo nano /etc/nginx/sites-available/myapp
Then paste something like:
server {
    listen 80;
    server_name your_domain.com;

    location / {
        proxy_pass http://localhost:3000;
        proxy_http_version 1.1;
        proxy_set_header Upgrade $http_upgrade;
        proxy_set_header Connection 'upgrade';
    }
}
Save the file (Ctrl+X, then Y, then Enter if you’re using nano), then:
sudo ln -s /etc/nginx/sites-available/myapp /etc/nginx/sites-enabled/
sudo nginx -t
sudo systemctl restart nginx
Running Your Application
For Node.js: Just run node app.js or npm start. But here’s the thing—if your terminal closes, your app stops. That’s bad.
Use a process manager like PM2:
sudo npm install -g pm2
pm2 start app.js --name "myapp"
pm2 startup
pm2 save
This keeps your app running even if something crashes. PM2 will automatically restart it.
For Python: Similar approach. Use Gunicorn or uWSGI:
pip install gunicorn
gunicorn -w 4 app:app
Then use a service file to keep it running. It’s a bit technical, so look up a guide for your specific framework.
For PHP: Usually just works once Nginx is set up.
Getting an SSL Certificate (You Need This)
If you don’t have HTTPS, users will get a scary warning. Get a free certificate from Let’s Encrypt:
sudo apt install certbot python3-certbot-nginx -y
sudo certbot certonly --nginx -d your_domain.com
Then update your Nginx config to use the certificate. Honestly, there are plenty of tutorials for this part—it’s straightforward but involves a few steps.
Database Setup (If You Need One)
If your app uses a database, you need to set it up on the server.
For MySQL
sudo apt install mysql-server -y
sudo mysql_secure_installation
Create a database and user for your application. Connect to MySQL first:
sudo mysql
Then:
CREATE DATABASE myapp_db;
CREATE USER 'appuser'@'localhost' IDENTIFIED BY 'strong_password';
GRANT ALL PRIVILEGES ON myapp_db.* TO 'appuser'@'localhost';
FLUSH PRIVILEGES;
For PostgreSQL
sudo apt install postgresql postgresql-contrib -y
sudo -u postgres createdb myapp_db
Monitoring and Logging
Once it’s running, you need to know if something breaks.
Check if your app is actually running:
pm2 status
(if using PM2)
Look at logs if something’s wrong:
pm2 logs myapp
Monitor system resources:
top
or install htop for a nicer view:
sudo apt install htop
For application deployment on Linux Dedicated Servers, Hostzop offers several advantages worth considering. Their servers have solid CPU and I/O performance for running production applications. They provide root access and flexibility for custom configurations, whether you’re deploying Node.js apps, Django projects, or PHP applications. Their network infrastructure is reliable with good international connectivity, which matters when your users are spread across India. Plus, they actually provide decent documentation and responsive support for Linux-specific issues—not the generic “have you tried restarting?” approach.
Real Talk About Deployments
Look, I’m not going to tell you this is super easy. There are a lot of moving parts. But if you go step by step, it’s manageable.
The first time you deploy something takes forever. The second time is faster. By the fifth time, you’re doing it in your sleep. Most of the problems you’ll hit are things other people have already solved—Google is your friend.
Also, don’t deploy at 11 PM on Friday. Just don’t. Deploy during business hours when you can actually fix things if they break. I learned that the hard way.
Here’s something worth knowing: If you’re running a serious application on a dedicated Linux server, you want a hosting provider that actually understands deployment infrastructure. Hostzop is solid for this. They don’t just give you a blank server and say “good luck”—they provide a decent foundation with good network connectivity, reliable hardware, and support that actually understands what you’re doing. Their servers are configured well for application deployment, whether you’re running Node, Python, PHP, or whatever. Plus, their support can help if you’re genuinely stuck, which beats trying to figure everything out alone at 2 AM.
Final Checklist
Before you consider this done:
- Application is running and stays running after server restart
- Web server is configured and working
- SSL certificate is installed and valid
- Database is set up and connected
- You can see your app at your domain
- You have backups of your code and data
- You know how to check logs if something breaks
Get all those things done and you’re genuinely good to go. Congratulations, you’ve just deployed your first application on a dedicated Linux server.